DIY Coconut Whipped Cream: Your Step-by-Step Guide to Fluffy Perfection
Craving a luscious, creamy topping that's entirely dairy-free? Look no further than homemade
coconut whipped cream! This plant-based marvel offers all the airy indulgence of traditional whipped cream without any dairy, making it a dream come true for vegans, those with lactose intolerance, or anyone simply looking for a delicious, unique alternative. Transforming a humble can of full-fat coconut milk into a cloud-like confection might seem like magic, but with the right techniques and a few crucial tips, you'll achieve perfect results every time. Forget store-bought versions; the satisfaction of whipping up your own batch is unmatched, and the fresh taste is simply divine. This comprehensive guide will walk you through every step, from selecting the best coconut milk to mastering the whipping process, ensuring your DIY coconut whipped cream is light, stable, and utterly delectable.
Why Choose DIY Coconut Whipped Cream? The Dairy-Free Difference
The appeal of
coconut whipped cream extends far beyond its novelty. For many, it's a culinary game-changer, opening up a world of dessert possibilities that were previously off-limits. Its natural sweetness and subtle coconut flavor complement a wide array of dishes, offering a sophisticated twist to classic desserts.
*
A Vegan and Dairy-Free Delight: The most obvious benefit is its suitability for those adhering to a vegan lifestyle or avoiding dairy. It provides a creamy texture and rich mouthfeel often missed in dairy-free baking and desserts, ensuring nobody has to miss out on the joy of a beautifully topped treat.
*
Unique Flavor Profile: While it boasts a delicate coconut essence, it's not overpowering. This allows it to pair wonderfully with everything from rich chocolate desserts to bright, citrusy tarts and fresh fruit. Imagine it dolloped atop a vibrant lemon blueberry olive oil cake, adorned with fresh berries, crunchy almonds, and a drizzle of honey – a truly delightful combination!
*
Versatility in the Kitchen: From being the star topping on pies, cupcakes, and hot beverages to adding richness to parfaits and fruit salads, its applications are endless. You can even fold it into certain mousses or fillings for an extra layer of creaminess and flavor.
Essential Ingredients and Equipment for Success
Creating flawless
coconut whipped cream begins with the right ingredients and properly prepared tools. Paying attention to these details is paramount for achieving that coveted light and fluffy texture.
The Star Ingredient: Full-Fat Coconut Milk
This is non-negotiable. You *must* use full-fat coconut milk, not light or reduced-fat versions. The fat content is what solidifies and allows the cream to whip. Look for a 13.5-ounce (400ml) can of good quality, full-fat coconut milk. Brands like Thai Kitchen, Native Forest Organic, or Whole Foods 365 brand are often recommended for their high cream content. Always check the ingredients list to ensure it’s just coconut and water, without added gums or stabilizers if possible, as these can sometimes affect the whipping process.
The most critical step, which often determines success or failure, is chilling your coconut milk. Place the can in your refrigerator undisturbed for at least 12-24 hours, or even longer. This allows the thick coconut cream to separate from the thinner coconut water and solidify at the top. For a deeper dive into this vital step, check out our guide on
Perfect Coconut Whipped Cream: Why Chilling is Key.
Sweetener and Flavor Enhancers
*
Powdered Sugar (Confectioners' Sugar): This is the ideal sweetener because its fine texture dissolves easily, preventing a grainy finish. A quarter cup (about 30g) is a good starting point for one can of coconut milk, but you can adjust to your taste.
*
Optional Flavorings: A dash of vanilla extract is a classic addition, enhancing the sweetness and aroma. For other delicious variations, consider a pinch of cinnamon, a swirl of cocoa powder, a drop of almond extract, or a touch of citrus zest.
Essential Equipment
*
Stand Mixer or Hand Mixer: While a stand mixer with a whisk attachment offers hands-free convenience, a good quality electric hand mixer will also work perfectly.
*
Mixing Bowl and Whisk: Whether you're using a stand mixer or a hand mixer, the key here is *cold*. Chill your mixing bowl and whisk attachment in the freezer for about 10-15 minutes before you begin. This significantly helps the coconut cream hold its shape and whip properly. The colder your environment and equipment, the better your results will be.
Step-by-Step Guide to Perfect Coconut Whipped Cream
With your ingredients ready and equipment chilled, you're just minutes away from creamy, dairy-free bliss.
Step 1: The Big Chill (and No Shake Zone!)
As mentioned, this is foundational. Ensure your full-fat coconut milk has been chilling in the refrigerator for at least 12-24 hours *without being shaken or stirred*. This allows the dense coconut cream to rise and solidify at the top of the can. Simultaneously, pop your mixing bowl and whisk attachment into the freezer to get them thoroughly chilled.
Step 2: Skim the Cream, Ditch the Water
Carefully open the chilled can of coconut milk. Do NOT shake or tip it. You should see a thick, solid layer of coconut cream at the top. Gently scoop this solidified cream into your chilled mixing bowl. Be extremely diligent about leaving behind all of the liquid coconut water. Even a tiny amount of coconut water can prevent your cream from whipping to its full potential. If you have to sacrifice a sliver of cream to ensure no water gets in, do so—it’s worth it for a stable whip. For more detailed insights on this crucial separation, consult our article:
Coconut Whipped Cream: Best Milk & How to Skim for Success.
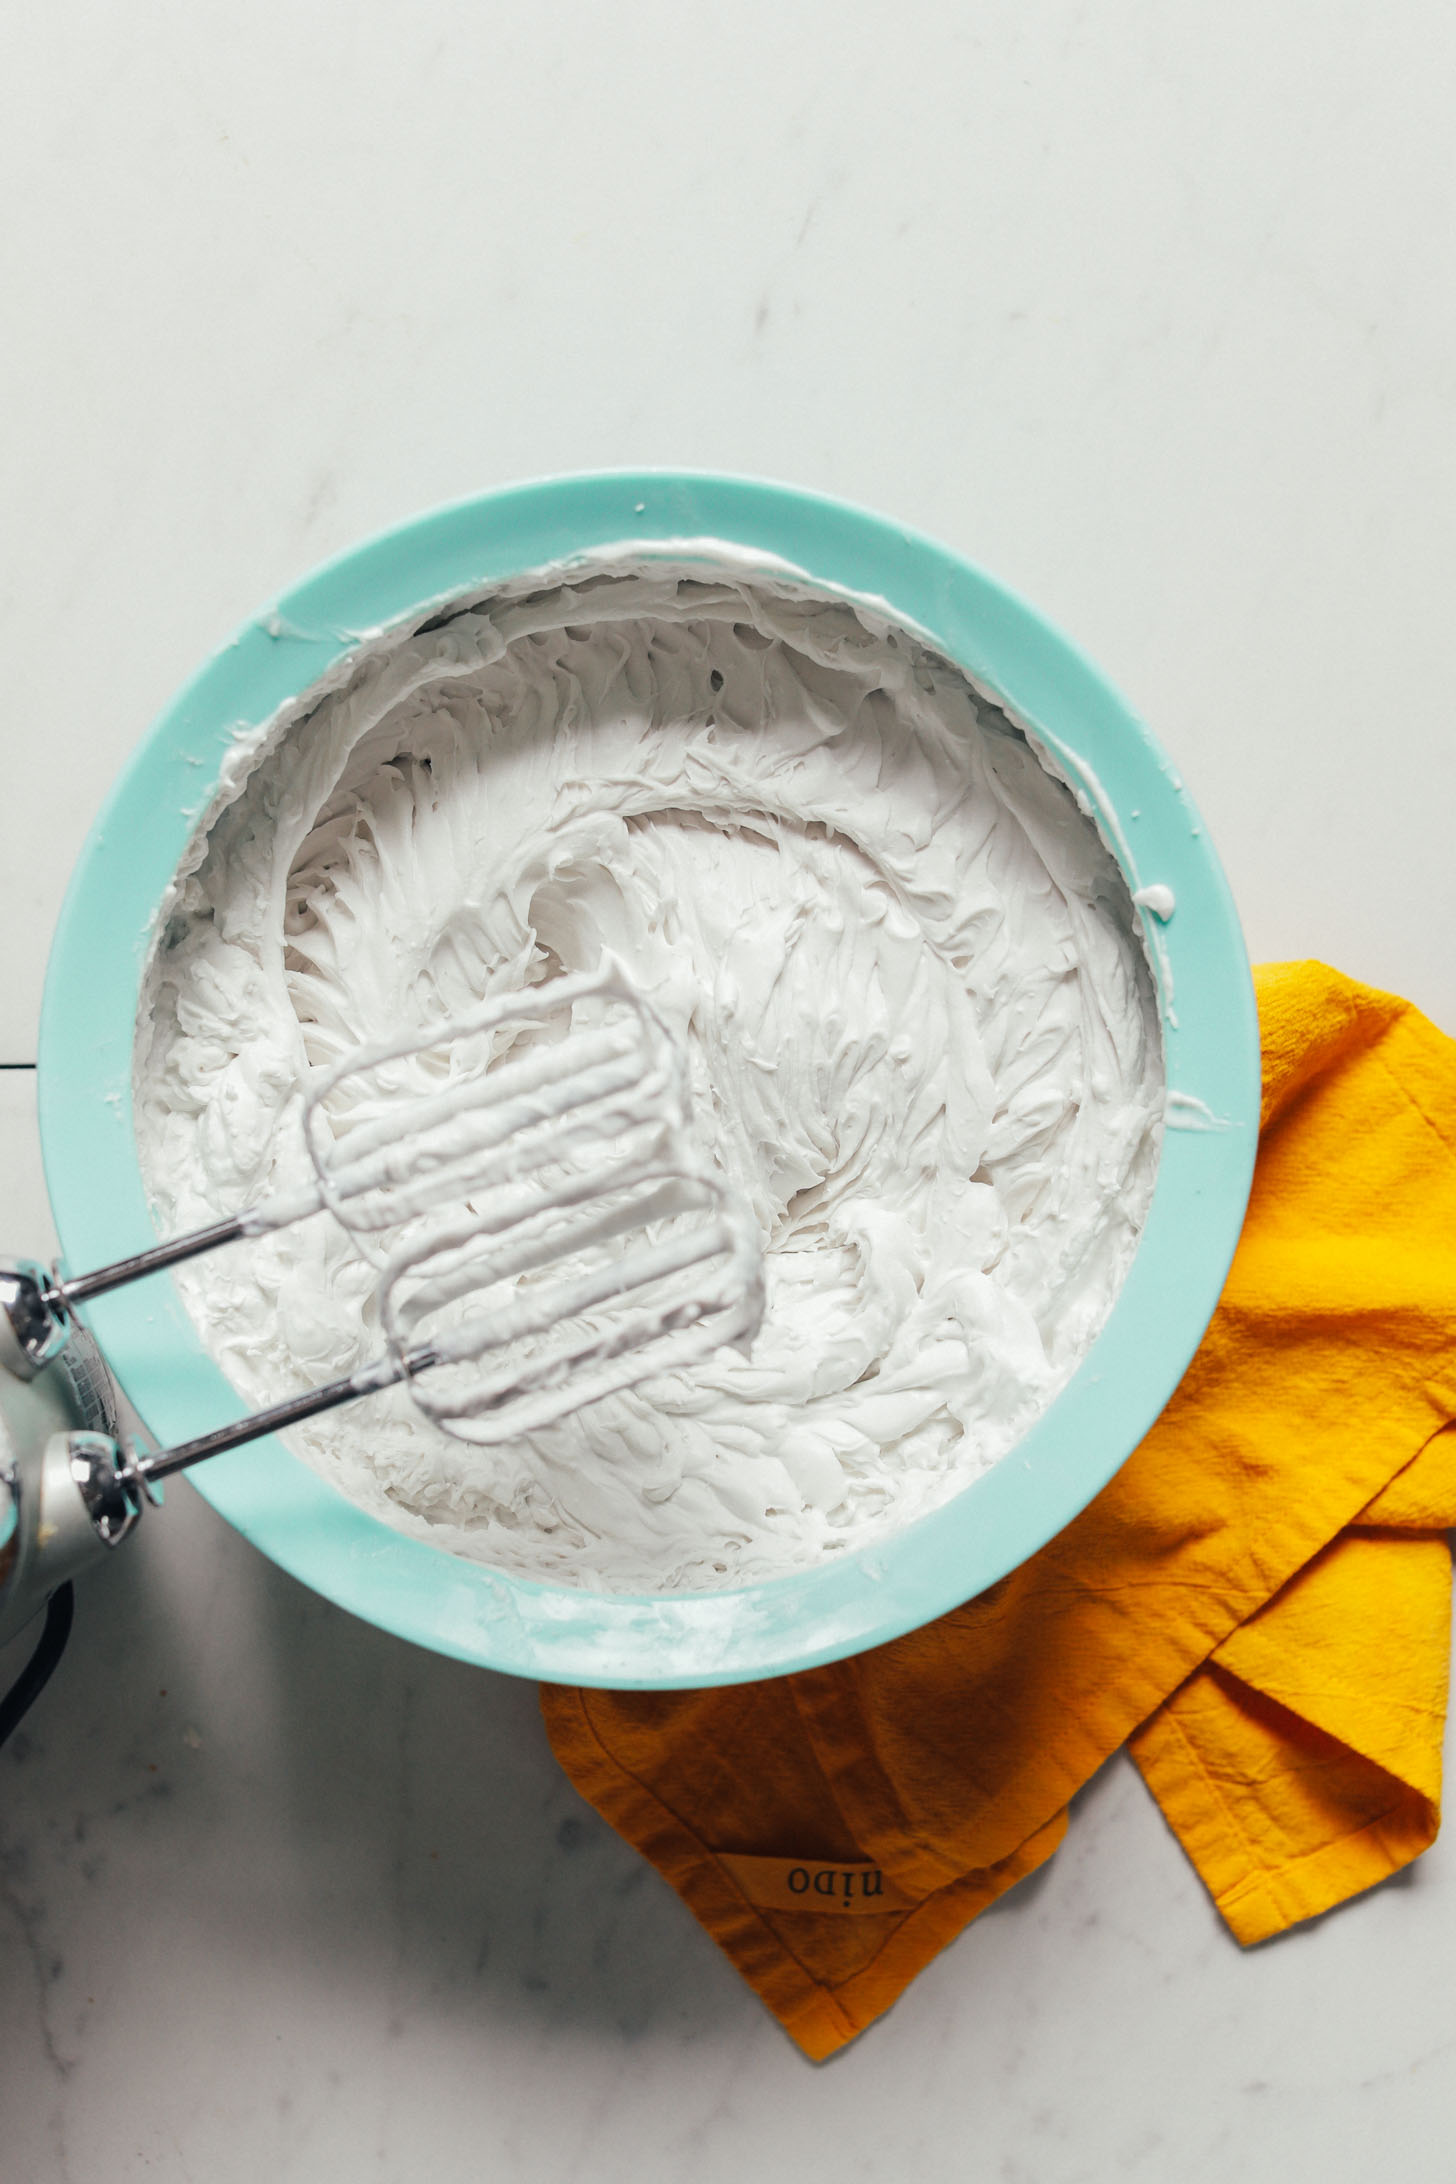
Step 3: Whip it Up!
Add the powdered sugar and any optional flavorings (like vanilla extract) to the coconut cream in your cold bowl. Begin whipping on medium-low speed, gradually increasing to medium-high. At first, the mixture might look chunky, but it will soon smooth out. Continue whipping for 3-5 minutes, or until the mixture becomes light, fluffy, and forms soft to medium-stiff peaks, much like dairy whipped cream. Be careful not to over-whip, as this can sometimes cause the cream to separate or become grainy. Stop whipping as soon as you reach your desired consistency.
Step 4: The Final Chill (and Storage)
Once whipped, transfer your beautiful
coconut whipped cream to an airtight container. For the absolute best results and a firmer texture, chill it in the refrigerator for at least a few hours or, ideally, overnight. This final chill allows the fat molecules to firm up further, resulting in a more stable and delicious whipped cream.
Store any leftovers in a covered container in the refrigerator for up to 3-4 days. It may firm up considerably when fully chilled; simply let it sit at room temperature for a few minutes or give it a quick whisk to loosen it slightly before serving.
Troubleshooting Common Coconut Whipped Cream Issues
While relatively straightforward, sometimes things don't go exactly as planned. Here are solutions to common problems:
*
It's too runny/won't whip: This is almost always due to not enough chilling of the coconut milk or equipment, or the inclusion of coconut water. Ensure your coconut milk is truly full-fat and has been chilled for a long time. Double-check that no liquid coconut water made it into your bowl. You can try putting the bowl back in the freezer for 10-15 minutes, then re-whipping.
*
It's grainy or separates: This can happen if you over-whip the cream or if the initial chilling wasn't sufficient, causing the fat to separate. Unfortunately, over-whipped coconut cream is hard to recover, but for slightly grainy cream, a brief re-chill followed by a gentle, quick whisk might help.
Creative Ways to Enjoy Your Coconut Whipped Cream
Now that you've mastered the art of making
coconut whipped cream, the fun truly begins! Its versatility means it can elevate almost any sweet dish.
*
Classic Dessert Topping: Dollop generously on pies, tarts, fruit crumbles, or even a simple bowl of fresh berries. It’s superb on chocolate mousse or a rich pudding.
*
Breakfast & Brunch Enhancer: Transform your morning pancakes, waffles, or French toast with a swirl of coconut whipped cream. It's also fantastic layered in a parfait with granola and fruit.
*
Beverage Boost: Swirl it into hot cocoa, coffee, or a smoothie for an extra touch of creamy indulgence.
*
Cake & Cupcake Frosting: Use it as a lighter alternative to traditional buttercream for decorating cakes and cupcakes. For a firmer frosting, ensure it's very well-chilled and work quickly.
*
Flavor Variations: Experiment with different flavors! Mix in a teaspoon of instant espresso powder for a mocha cream, a tablespoon of unsweetened cocoa powder for chocolate whipped cream, or a bit of lemon or orange zest for a zesty twist. Spices like cardamom or ginger can also add an exotic touch.
Conclusion
Making your own
coconut whipped cream is a rewarding experience that unlocks a world of dairy-free dessert possibilities. With just a few simple ingredients and a keen eye on chilling and skimming, you can create a light, fluffy, and utterly delicious topping that will impress even the most discerning palates. It's an empowering recipe for anyone navigating dietary restrictions or simply seeking a fresh, flavorful alternative to traditional cream. So, grab a can of full-fat coconut milk, chill it down, and prepare to whip up a batch of plant-based perfection. Your desserts—and your taste buds—will thank you!